I’ve never been a vivid Instagram user, due to one reason: you can not upload images while being on your desktop, laptop or personal computer. However, it is possible if you are a little clever with a browser and computers. Actually, it is pretty easy. The only prerequisite is that you have the Chrome or Firefox (if you value privacy) web browser installed on your computer.
Now Instagram is designed as a mobile-only platform, so it perfectly makes sense to use it mobile only. This is also the use that would be advised. But in some cases, you might want to prefer a computer. For me, it is just a personal preference. In many cases, I just find it so much easier to use a computer. But because this is a mobile platform, this hack may not work in the future! Nevertheless, enough of the talking, let’s explain how to do it!
If you don’t want to use your browser and want to plan Instagram posts ahead, you may use the service called Later. Be aware that you steel need a mobile phone with later. It also features scheduling Instagram posts and auto-publishing. It’s awesome!
Step 1: Open the Developer Tools in Chrome or Firefox (Ctrl+SHIFT+I or F12).
Use either Ctrl+Shift+I or F12, or right-click > Inspect element. Now this opens the Developer Tools which are used by professional (well, I hope so) web developers for creating their awesome projects. Your page should look something like this:

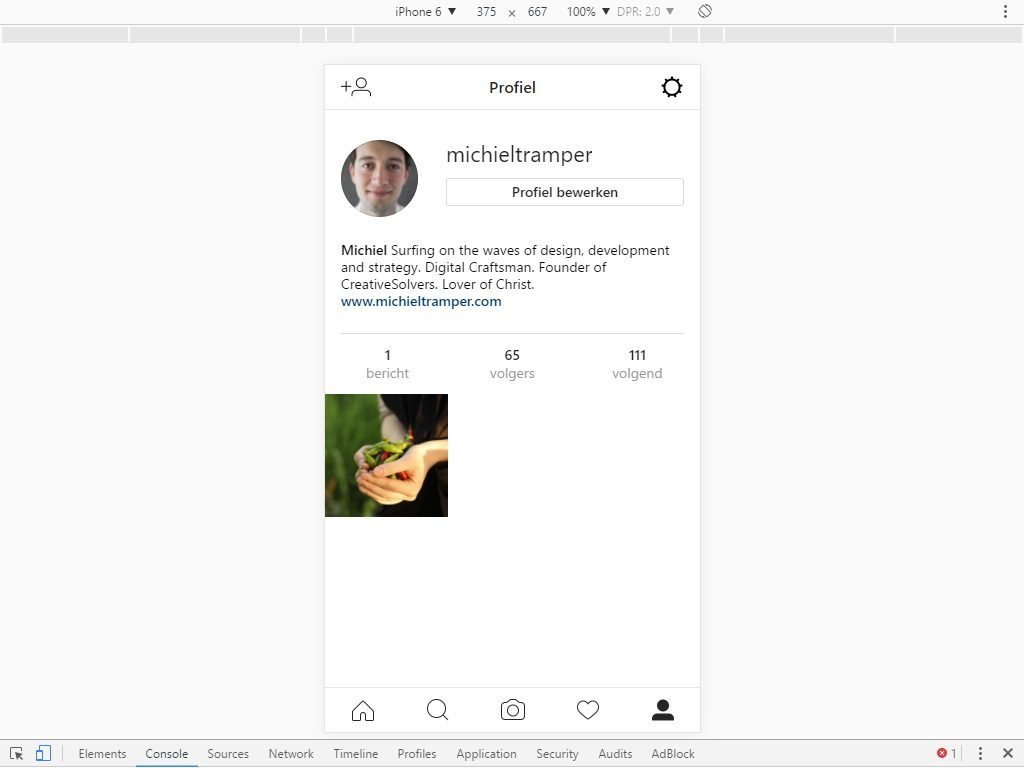
In the left corner, you will find an icon picturing a couple of devices. In this image, it is just under the photograph of the peppers, to the left.
Mac users can use Cmd + Shift + I, if I am not mistaken.
Step 2: Activate the device toolbar and pick a phone (Ctrl+ Shift + M)
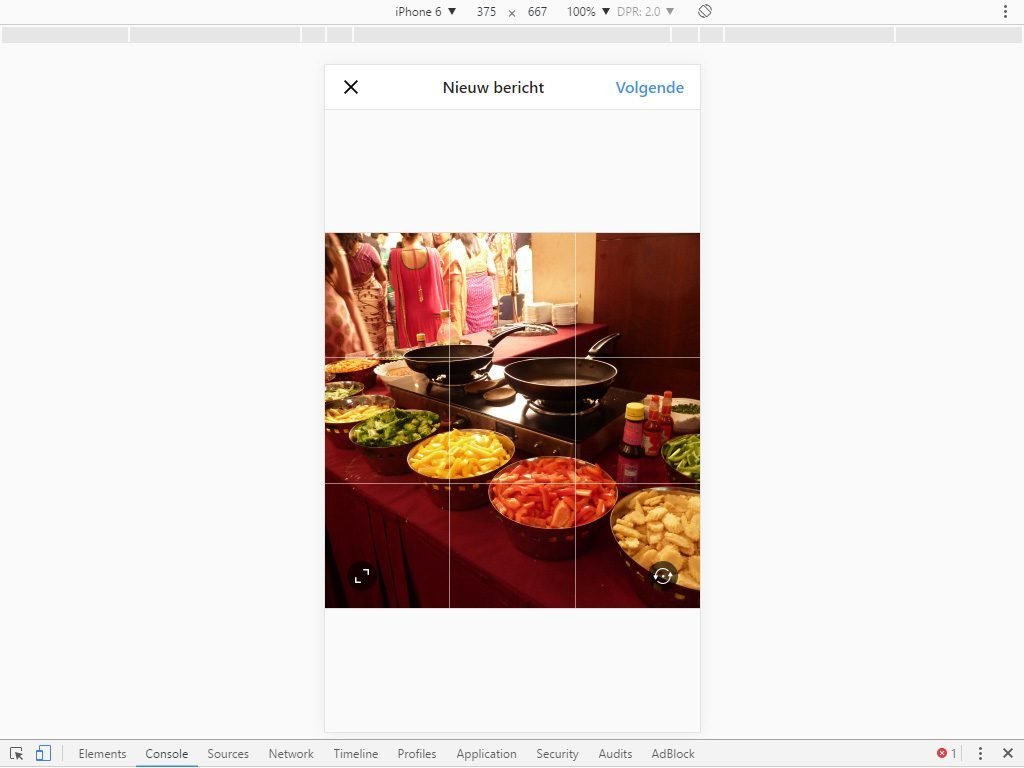
Click that icon with the devices or use the short keys as indicated above. Woohoo, a drop-down selector will appear on top of your page. Here you can select the phone or tablet of your preference. Let’s pick the iPhone 6.
Hey, do you notice it!? The screen scales now up to the size of your phone and some of the lovely Instagram icons appear on the bottom. And one of those is the icon for selecting or taking a photograph!
Again, Mac users can use Cmd + Shift + M, if I am not mistaken.
Final Step: Upload your pictures to Instagram with your computer
If you click the camera button, a screen with your file explorer will open. You can select a picture here.
Now if you try this the first time, you will be redirected to your wall with a message to install the app. If you go back to your profile and hit the upload button again, you will actually go to a screen where you can crop the photograph.
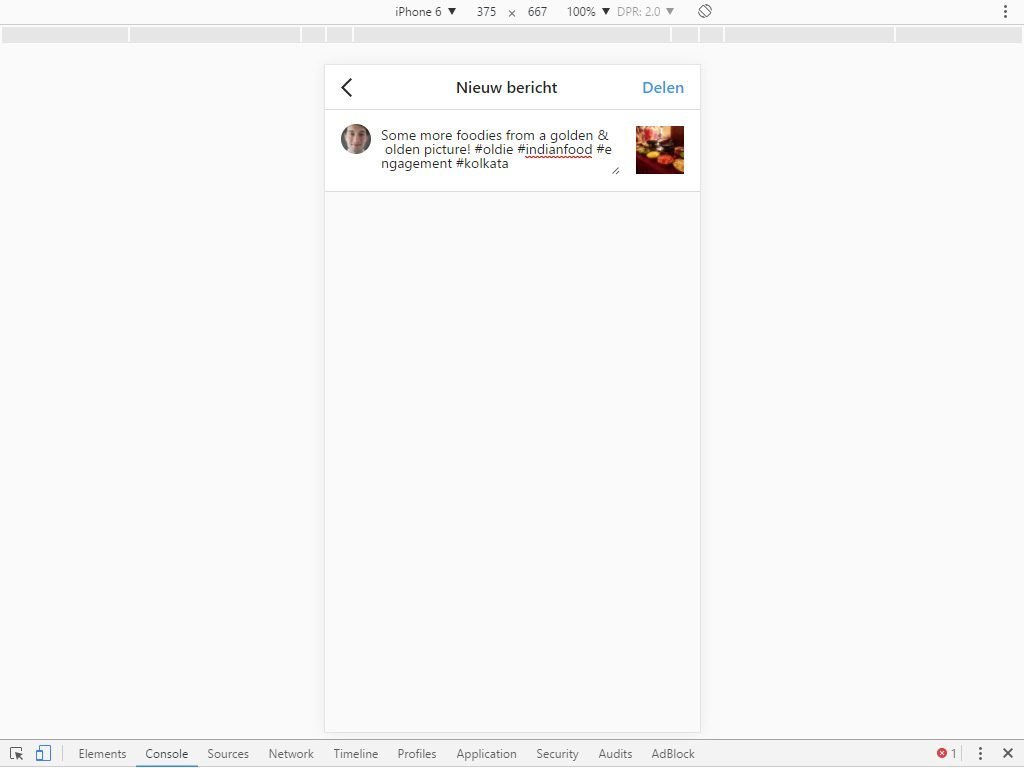
And on the second screen, you can add your message before sharing it to the world wide web. So indeed, you can also add your message to the Instagram picture :).
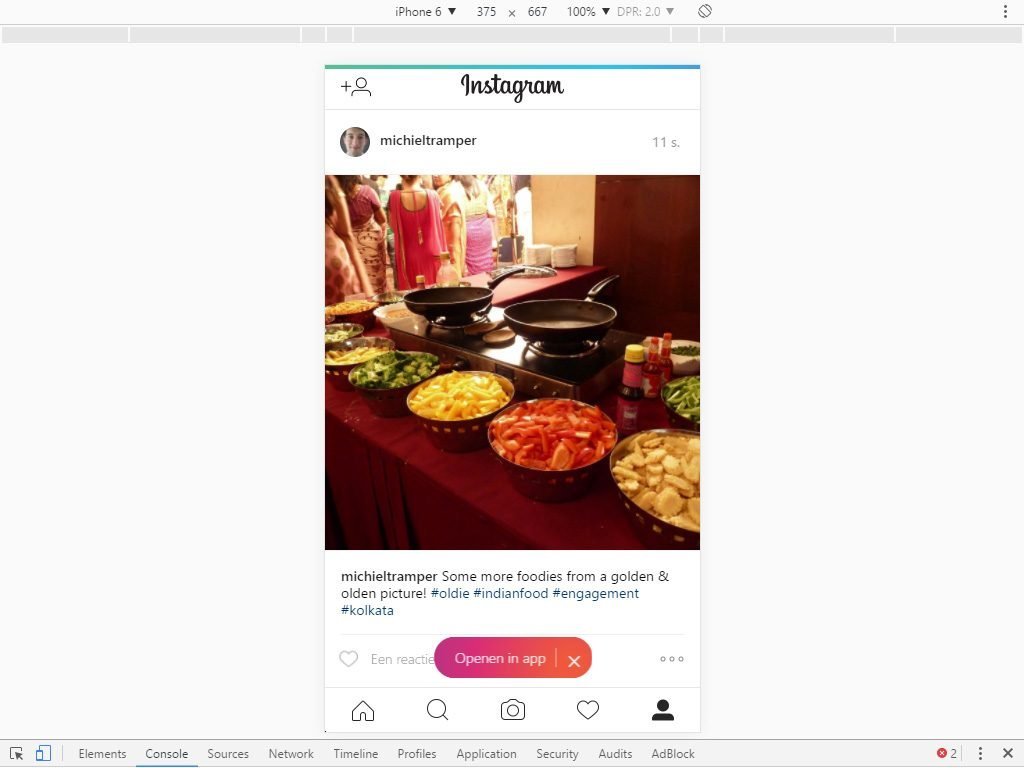
And finally, the image is posted. You’ve successfully uploaded a picture or photograph to Instagram using your own computer, whether it be a desktop or laptop.
Now the caveat is that you can’t apply any of the inbuilt effects, but if you are editing Photo’s using Lightroom or any other photo editing application, I’d suppose you’d like to skip that. And in addition, it also possible to do the same using a Chrome extension called User-Agent Switcher. This will actually mimic your browser being a mobile device in a similar manner as here.
ps. I am sorry that my Instagram is in Dutch (and so are the screens). That’s my native language. If you’d ever like learning a hard language such as Dutch, you might want to follow these tips on how to learn a language.